Screen Printing
/We have fantastic facilities and technicians here at UCLan to help us create designs and artwork which in the outside world would: a) leave us to figure things out alone, and b) cost a truckload of cash. The ability to produce finished, crafted prints cannot be underestimated in a world of portfolios full to the brim with PSD mockups; but lacking in actual, physical print.
The process of screen printing is a simple one. You create a stencil (in effect) on a silk screen, then push ink through it onto paper, or material, or other substrate (perspex, timber and metal have been done - speak to the technicians to see what's possible). One colour of ink is pushed through at a time, but your design may be more than one colour so you can build up in layers, or you can print in CMYK. In fact, colour is a big part of the process as the vibrancy you can achieve when printing with ink cannot be matched by any laser or inkjet printer.
The Process
Having not produced a piece of print with my own hands since I was at college 20 years ago, I recently took up the option of an induction into screenprinting. In terms of the process, the first thing to do is create your artwork. For my induction I designed a landscape poster for my son’s wall which used two colours. It’s important to note that you will need registration marks for any design where you want things to line up. Also, as you create your artwork, remember that wherever there is black on your design, this is where the ink will pass through. (I got that the wrong way around on my first attempt.)
Below are the two layers I designed, and finally what I intended the outcome to be.

Light blue layer

dark blue layer

the intended outcome
The designs were created in both Illustrator and Photoshop, before being saved as bitmap .tif files and finally exported as a PDF through InDesign. The designs have to be in black only, because when printed onto acetate or trace, they are used to create the stencil on your screen. This is done by exposing light through your prints onto the silk screen which is coated with photosensitive emulsion. Where the light hits the emulsion it is hardened (so ink will not be able to pass through), and where the light is blocked (the black areas of your design) the emulsion remains soft and can be washed off. This the leaves the clear area where ink will be pressed through the screen.
Rest assured, the technicians can explain this in much more detail.
Once the designs were exposed they looked like the below. Two designs were exposed onto one screen, so you don’t have to make a new screen for every layer. The dark green areas are where the emulsion has hardened onto the screen (i.e. the light has hardened the emulsion), the yellow areas are where the ink will pass through.

The silk screen, ready to print
With the screen ready, it was time to print. With multiple designs on one screen, the areas where I didn’t want ink to go (i.e. the second layer) were covered over with brown tape and acetate. Firstly, I registered the card I was printing on by using the black print used to create the screen itself. When registered, the first layer was then printed in cobalt blue.
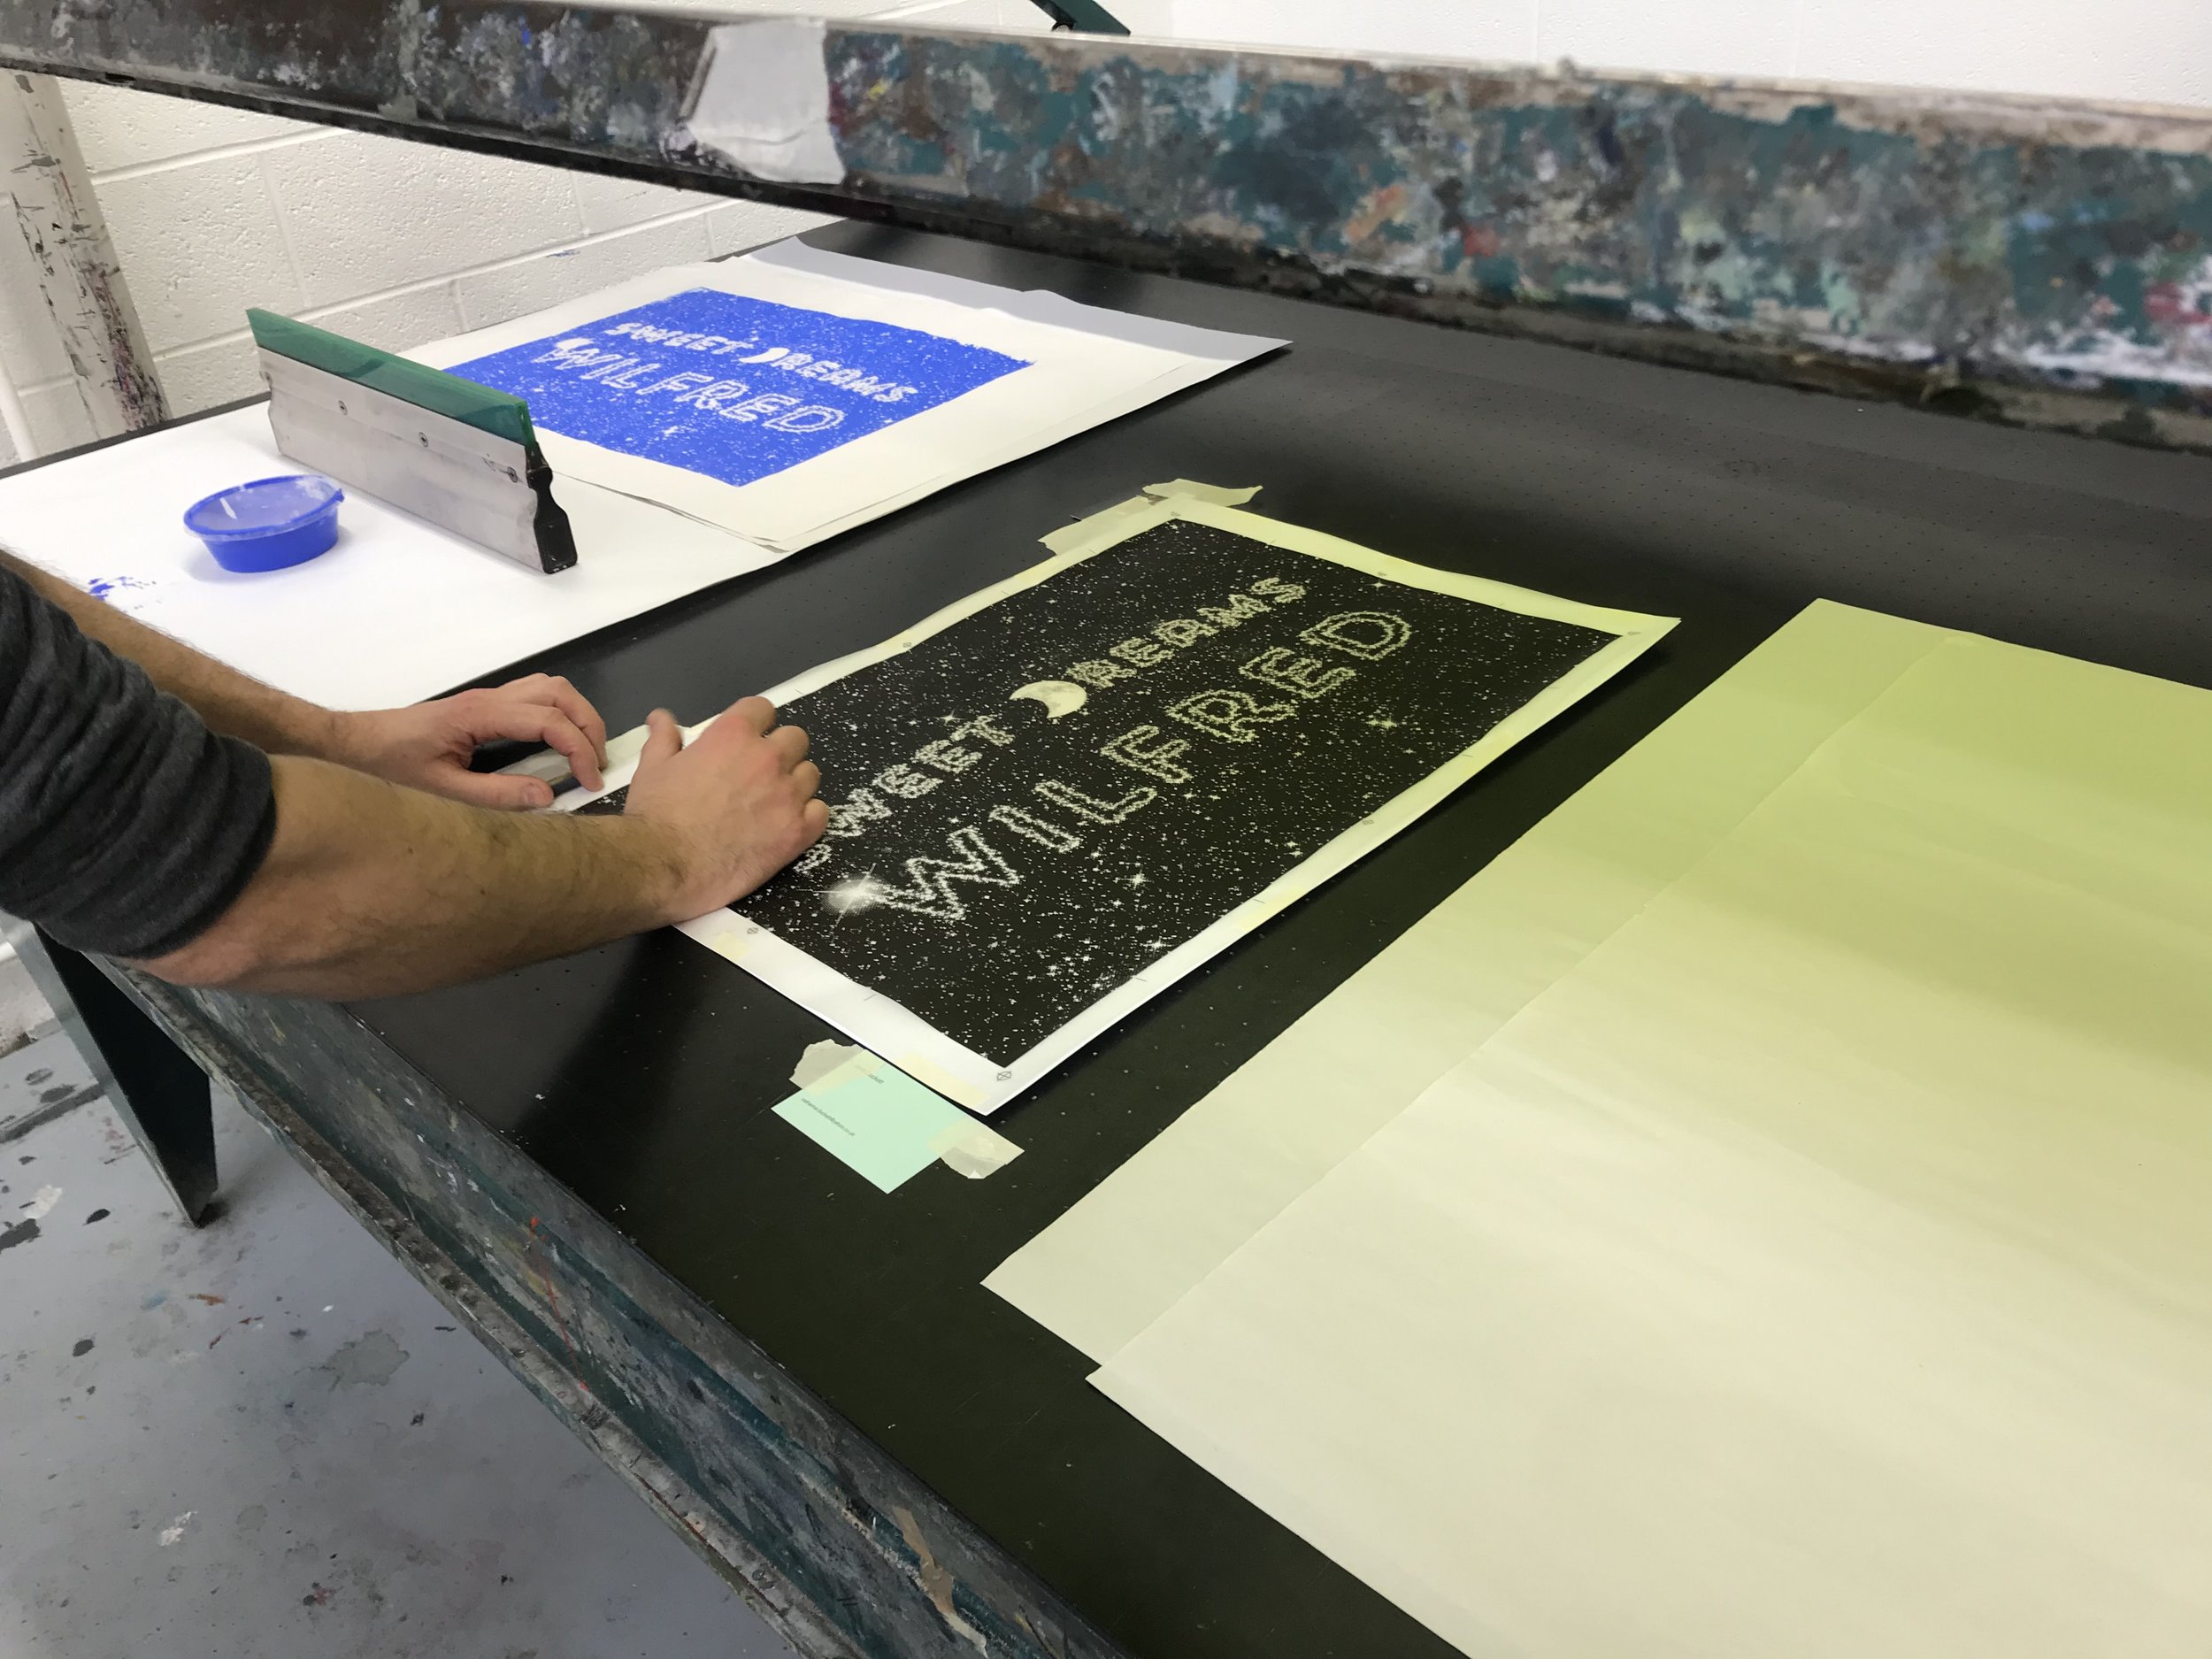
Registration

ink, lovely ink

ink, loaded

ink, printed
With the first layer printed, the screen was then washed down and the first design was then taped up ready for printing the dark blue layer. The dark blue was mixed using roughly half cobalt blue and half black. (Mixing colours is fun.)
dark blue, printed
Registration was a bit tricky, but the prints that were slightly out somehow have a bit of charm that a digital process would likely dilute. A few details of this shown below.
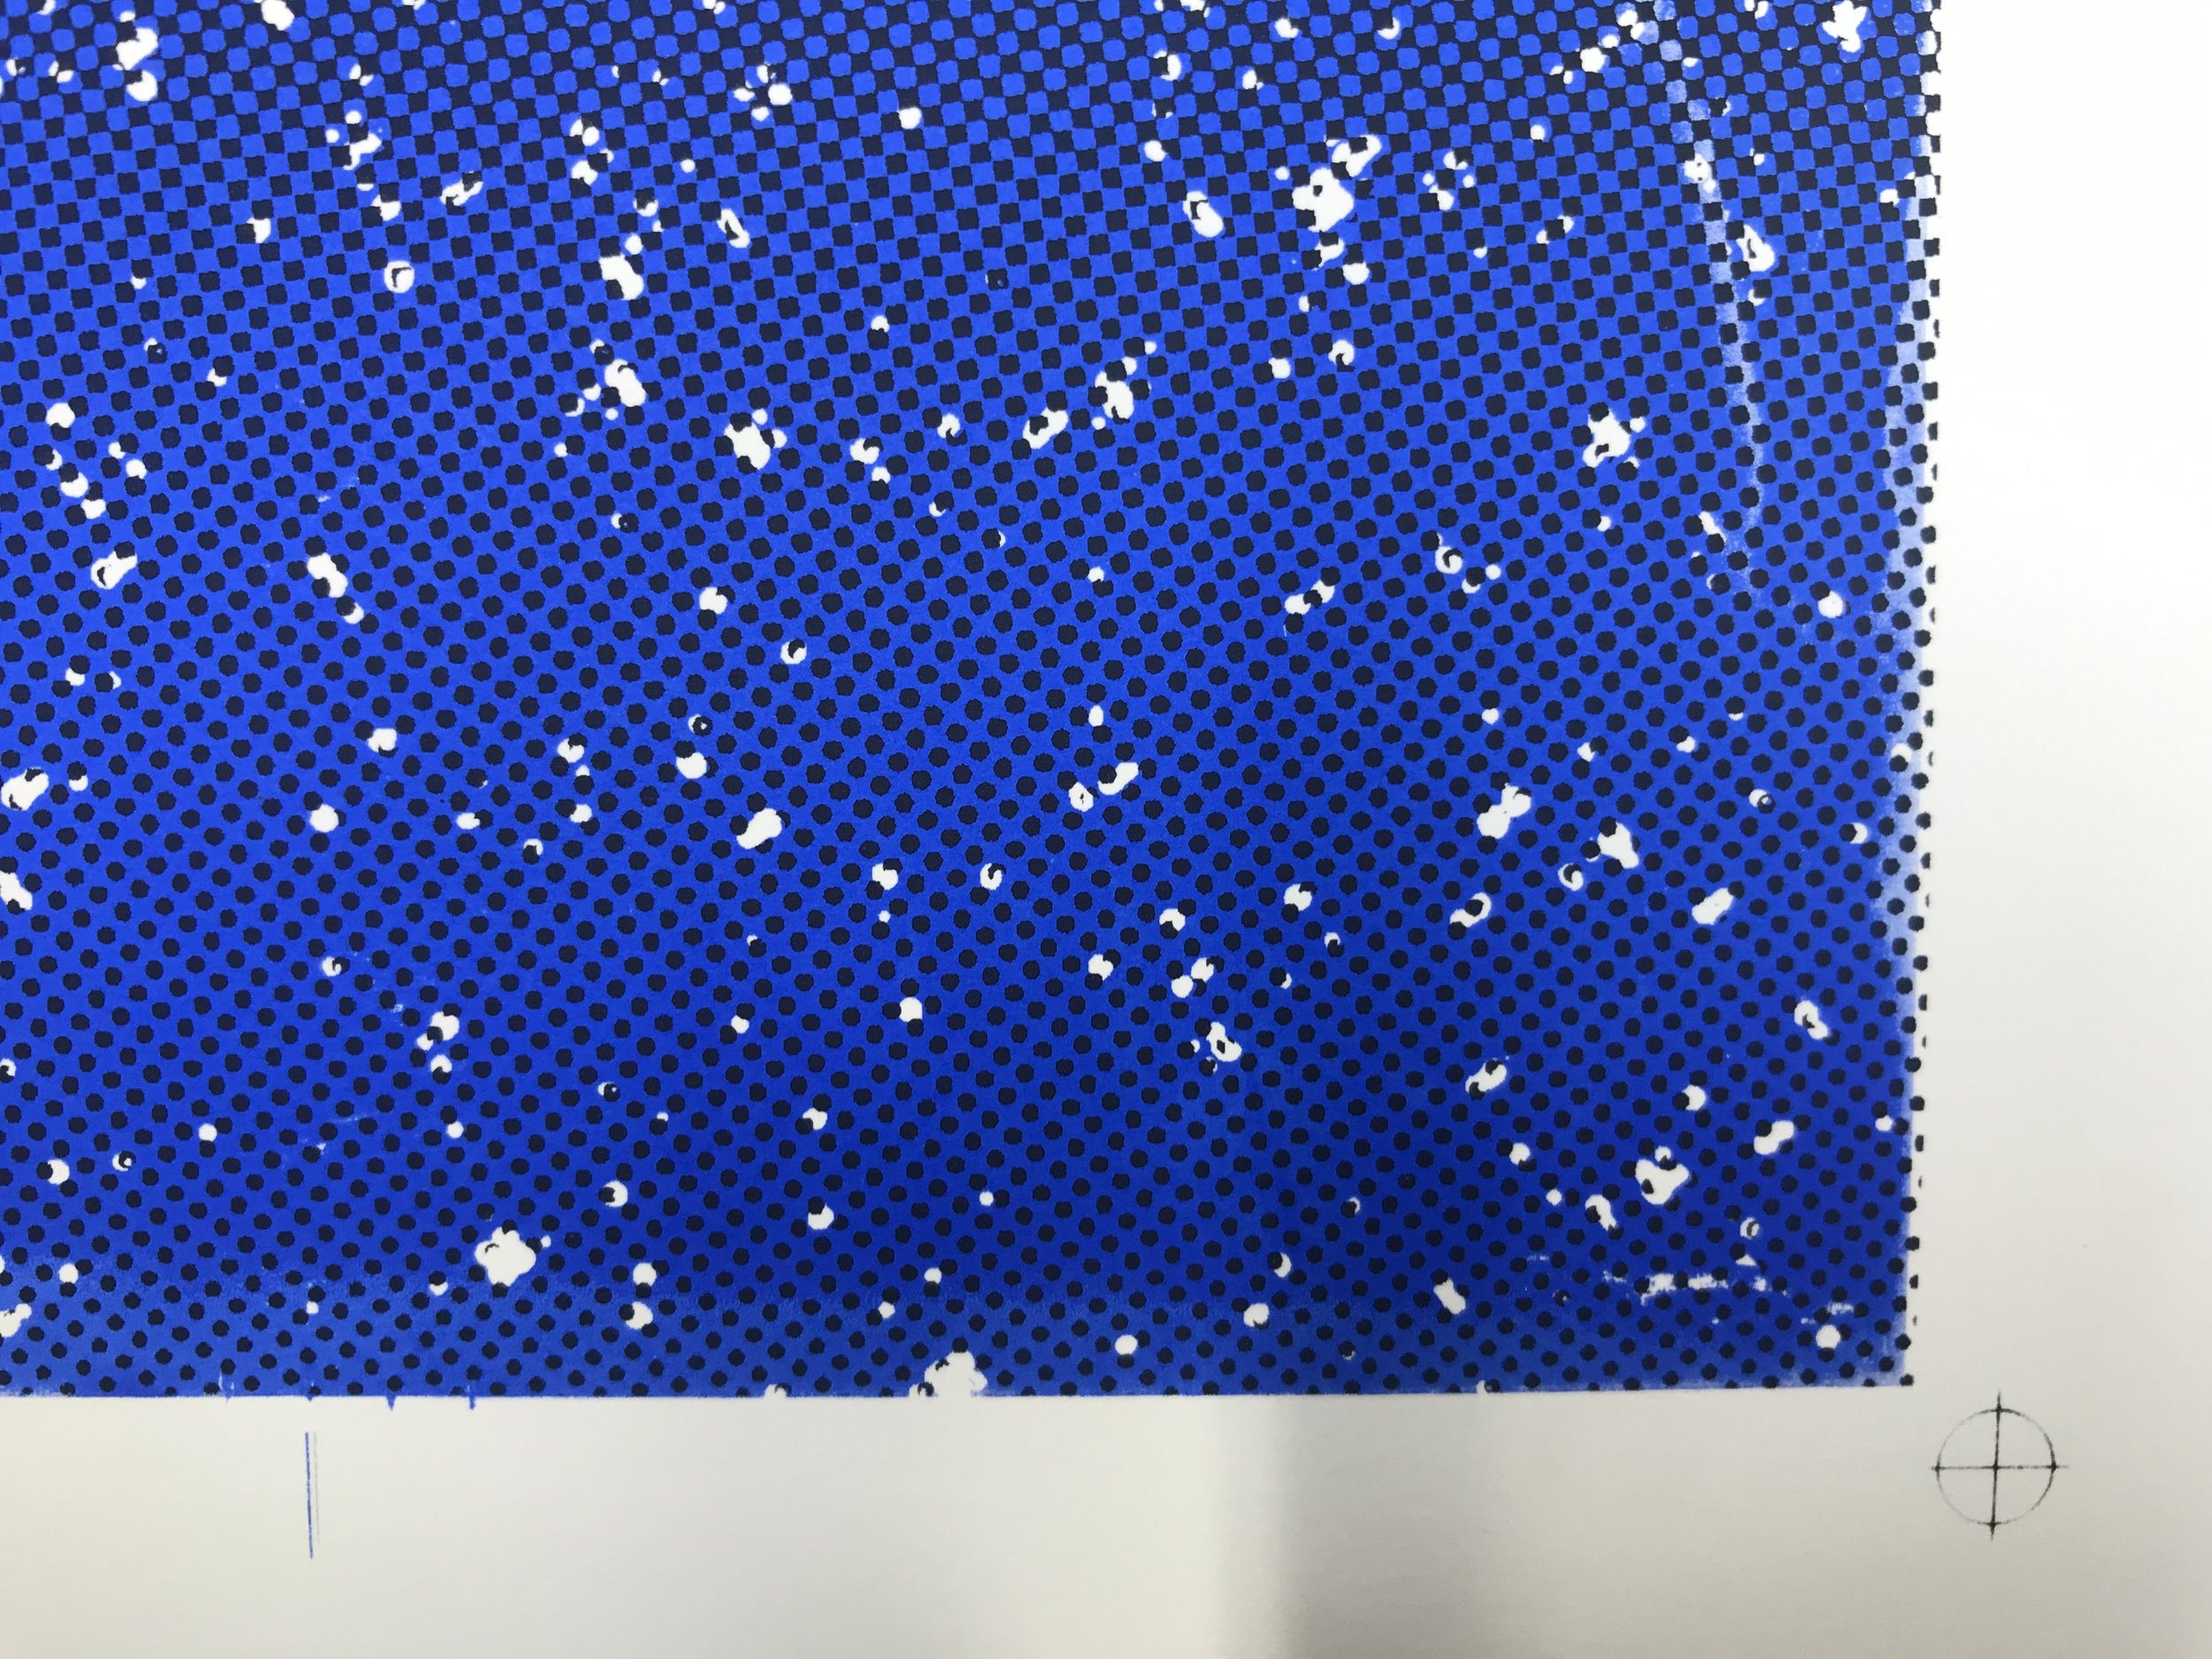
out by a whisker

out by several whiskers

Not too far off
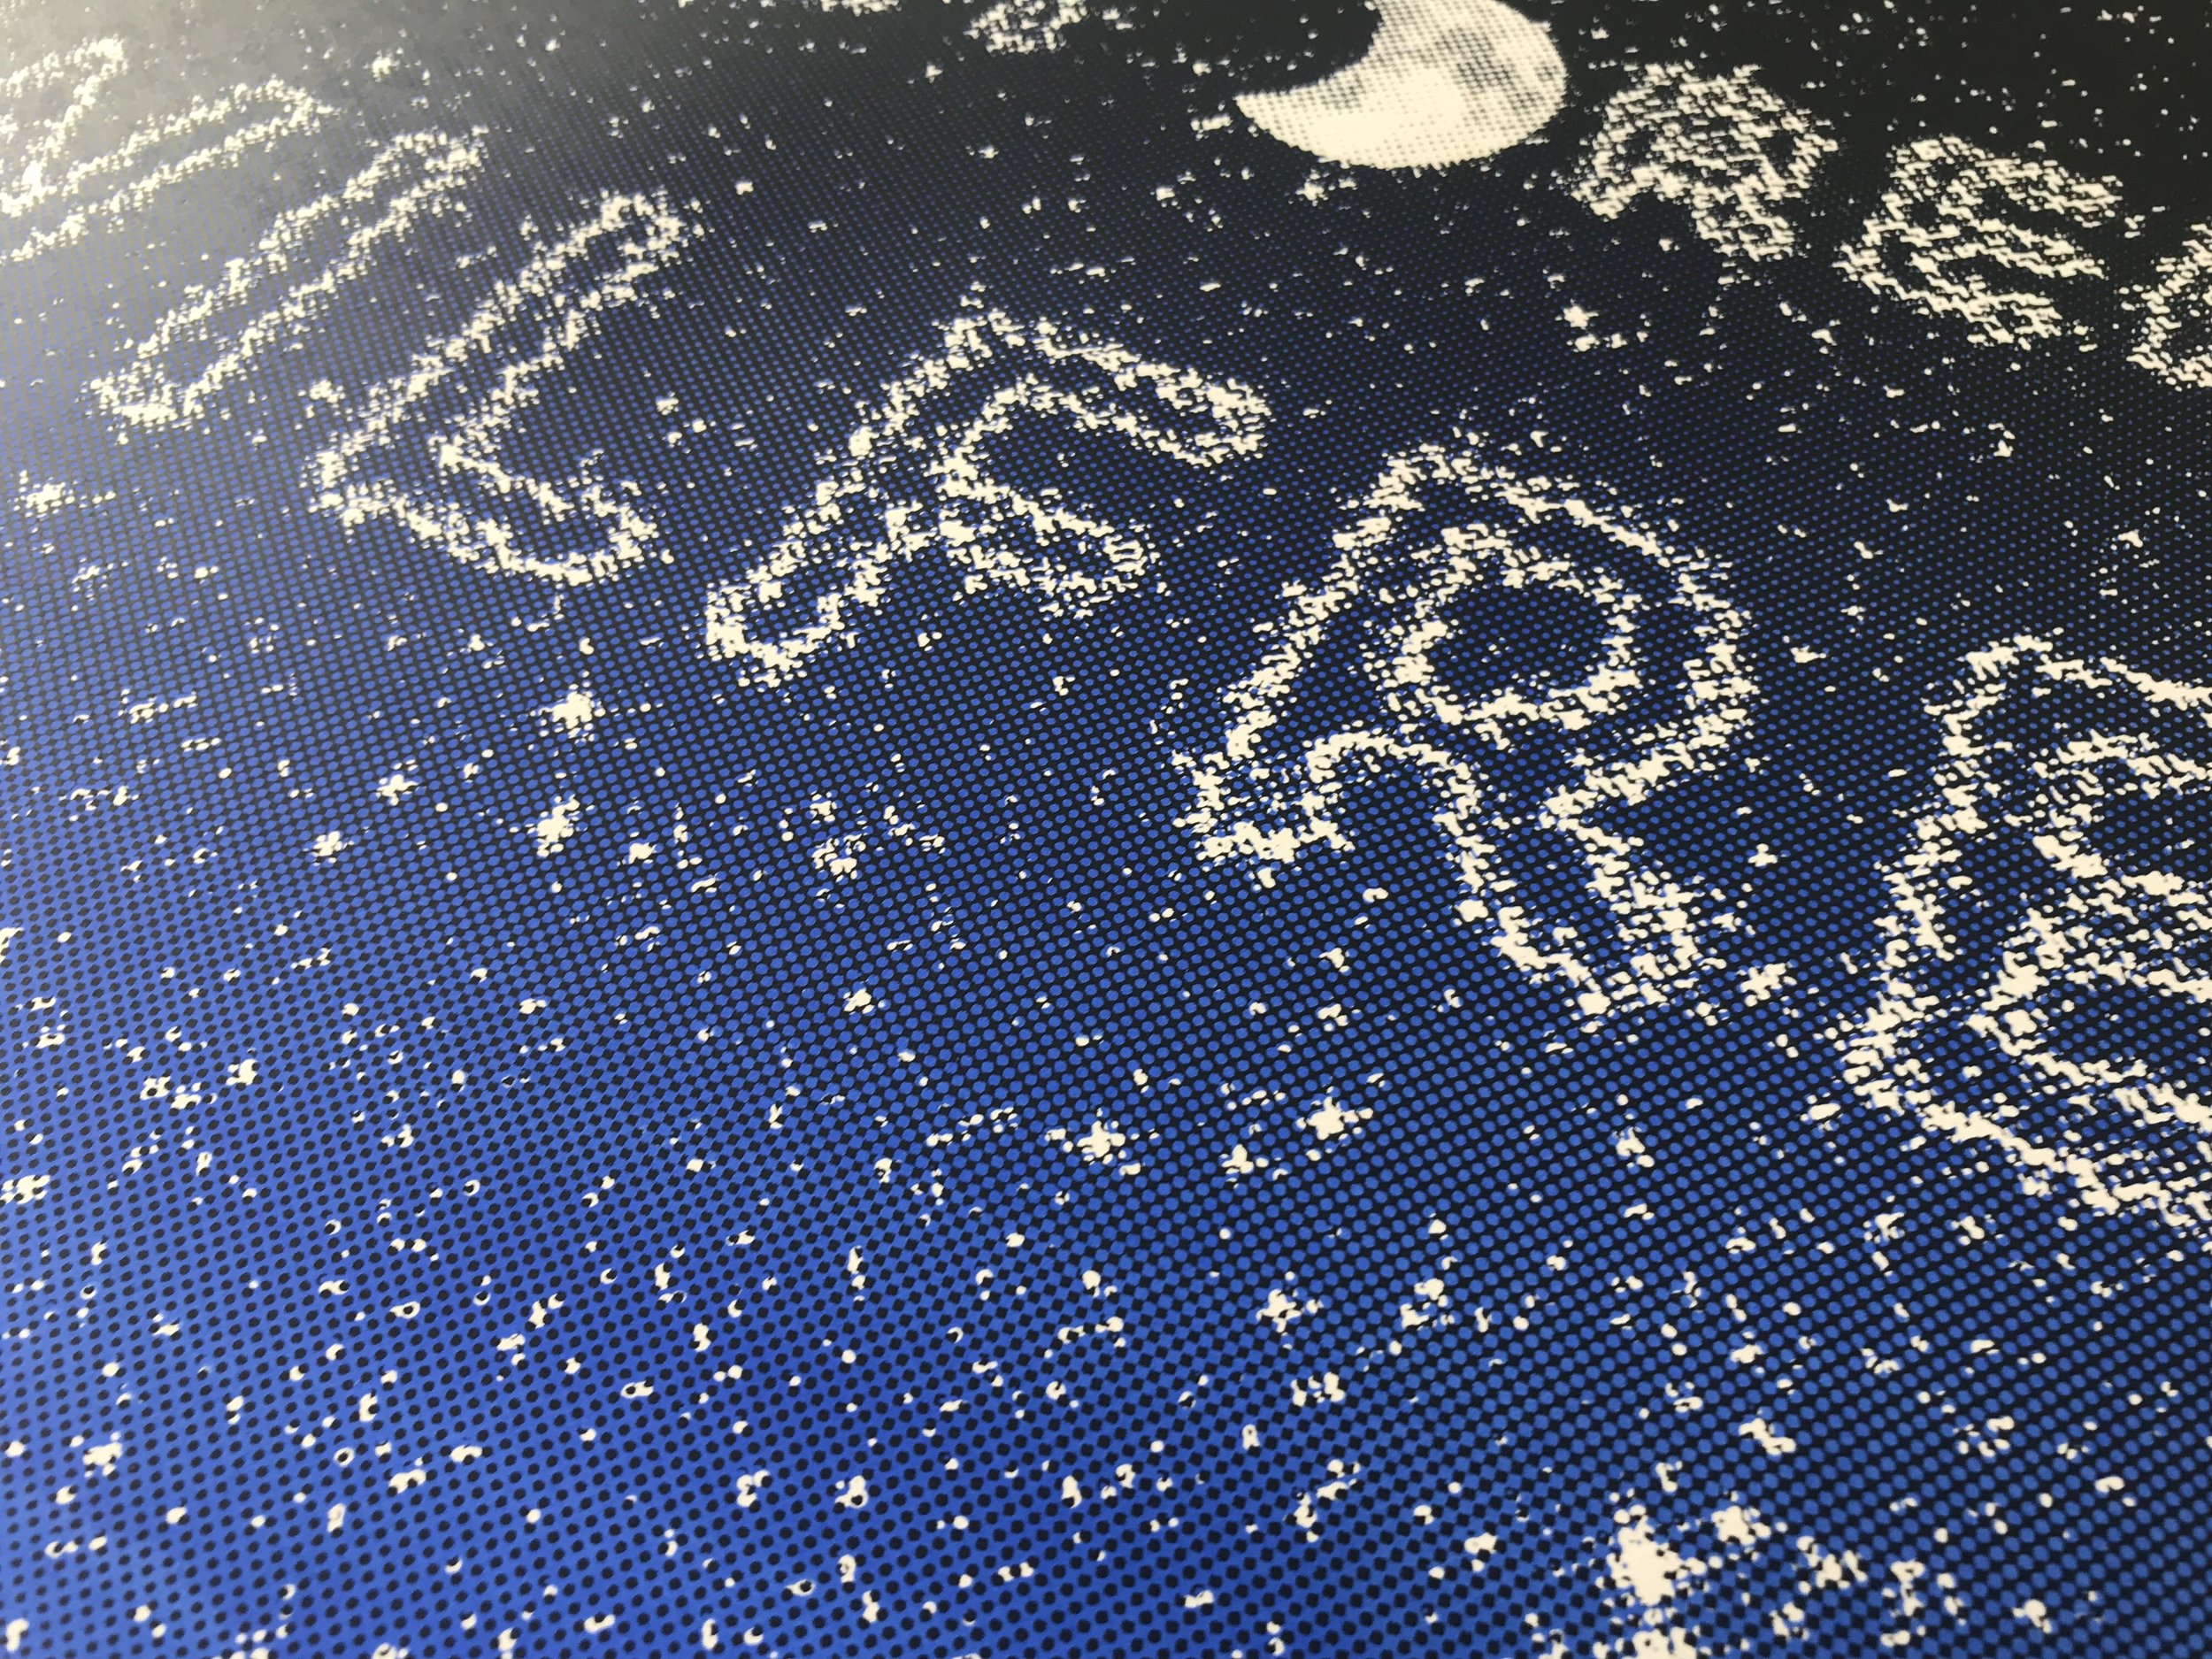
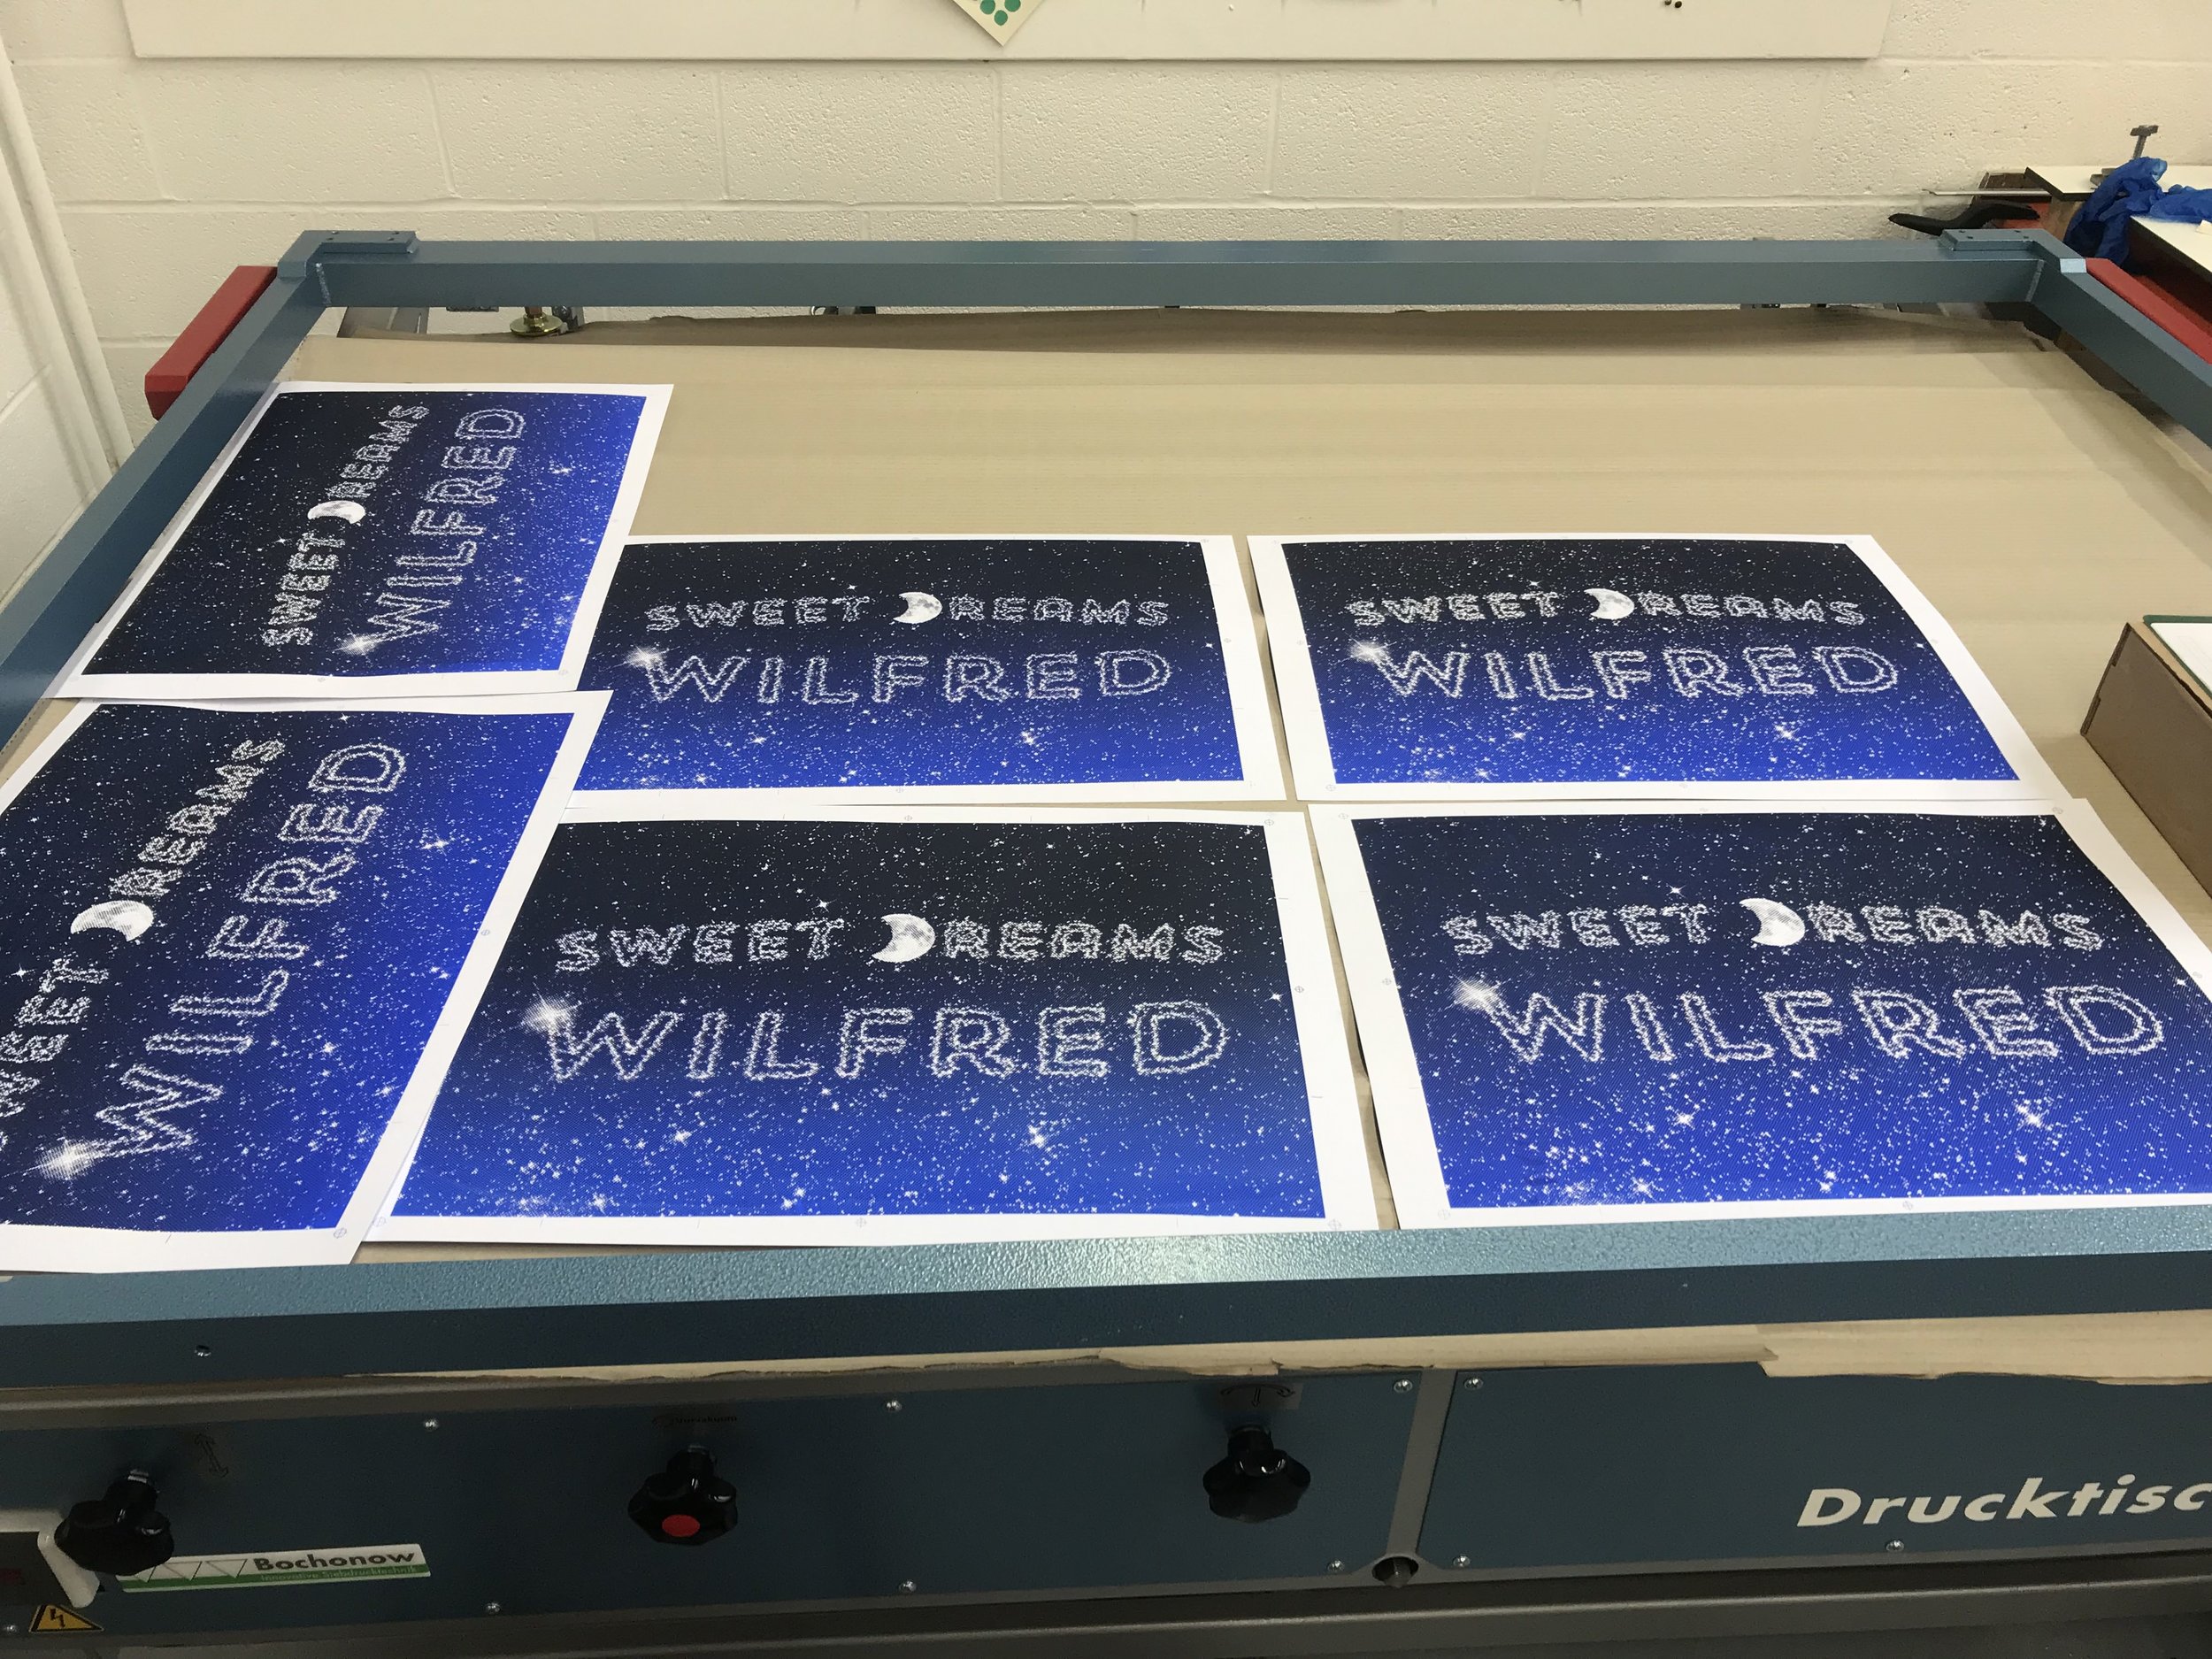
The overall effect
And that was that. I only scratched the surface of what’s achievable. Especially when you consider what screen printing might be like when combined with other techniques available, eg laser cutting, letter press, etc. But the most important parts of the process were sharing my thoughts and ideas with the printmaking staff so they could advise me along each step of the way to help me get the result I wanted, which is below. I’m happy, let’s hope Wilfred likes it.

final print

Bitmapping instructions
